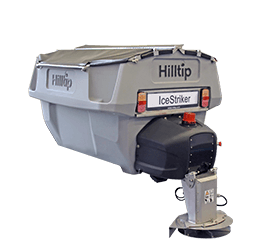
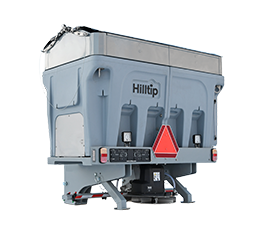
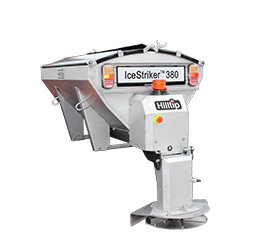
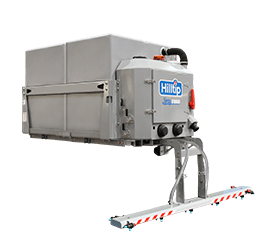
How to store your HILLTIP ICESTRIKER™ Spreader?
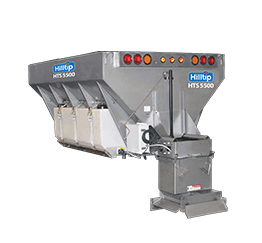
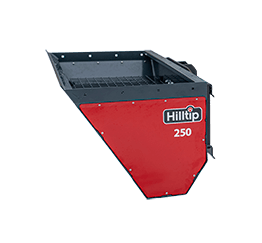
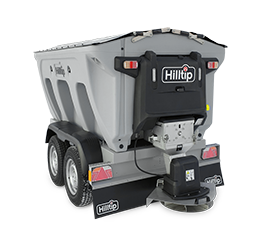
When Spring has arrived and the snow and ice are nothing but a memory, it is safe to say you won’t be needing your IceStriker™ salt spreaders anytime soon. When storing your IceStriker™ salt spreaders for the summer break, follow these steps to assure your equipment will be ready for the next season.
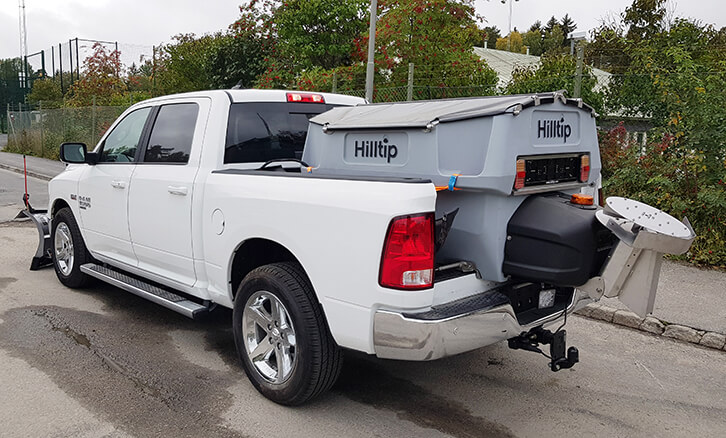
1. Unload the hopper. Back the vehicle up to a place where you want to deposit the material. Swing the spinner chute to an upright position and lock it in position with the pins. Detach the power supply to the spinner motor by separating the harness. Let the auger rotate until the hopper is empty.
2. Remove the Spreader from the vehicle using the lift/tie-down points.
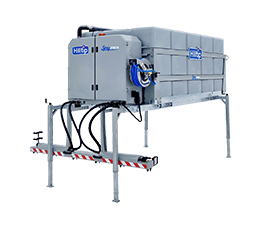
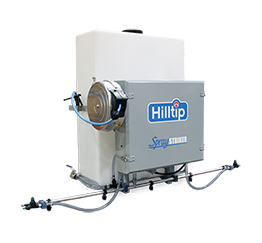
3. Wash and rinse the entire unit with (cold) water only. If your unit is equipped with the HILLTIP Pre-Wet system, make sure the whole liquid system is properly cleaned.
4. Insert a good amount of grease into all bearing(s) by the nipples. If the bearing(s) seems to be in bad shape, contact your HILLTIP dealer in order to get replacement parts.
5. Clean and grease the pintle chain (for pintle-chain models). Check the length of the chain for broken or cracked welds where the pintles (cross bars) meet the chain. If the chain seems to be in bad shape, contact your HILLTIP dealer in order to get replacement parts.
6. Clean all exposed connectors and apply dielectric grease to them. Make sure you have the endcap kit H23361 available to apply after the grease treatment.
7. Remove the controller from the vehicle and store it in a clean, safe and dry place.
These simple steps will help ensure your sand and salt spreader is kept in good condition and ready for the next season when the temperature drops and it’s time once again to keep our communities safe on the roads.
If you are also putting your Snow Plows away, be sure to check out the blog Prepare your Snow Plow for Storage.
Wish you the best!

