How to store your HILLTIP SNOWSTRIKER™ Snow Plow?
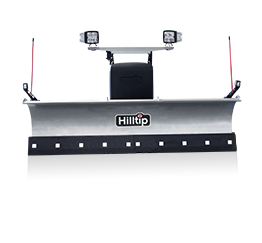
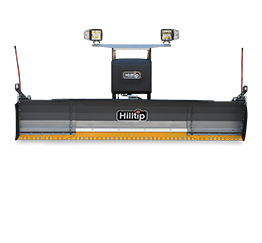
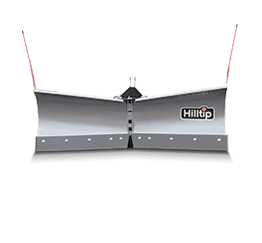
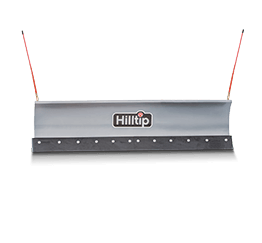
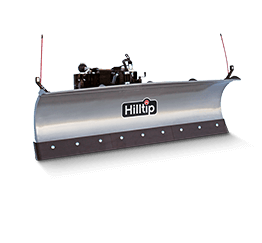
HILLTIP SNOWSTRIKER™ snowplows are designed to give rugged and reliable service with minimal maintenance. Preparing your snow plow for storage over the summer break will extend the life of your valuable HILLTIP SNOWSTRIKER™ and ensure that it gives you the highest performance season after season.These steps will properly prepare your SNOWSTRIKER™ V-Plow or Straight Plow for storage so you can rest assured that your equipment will be ready to battle the snow next season.
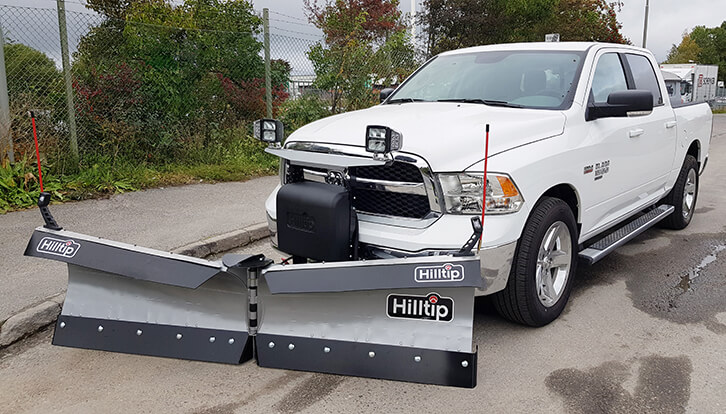
1. Give the Plow unit a proper wash. Apply grease at any exposed chrome and on the lift cylinder rod. Straight Plows: Set the blade in a fully right-angled position and apply grease on the left side cylinder rod. V-Plows: Set both wing blades in a fully angled position (backwards) in order to get the angle cylinders inserted and protected. Dismount the plow unit from the vehicle.
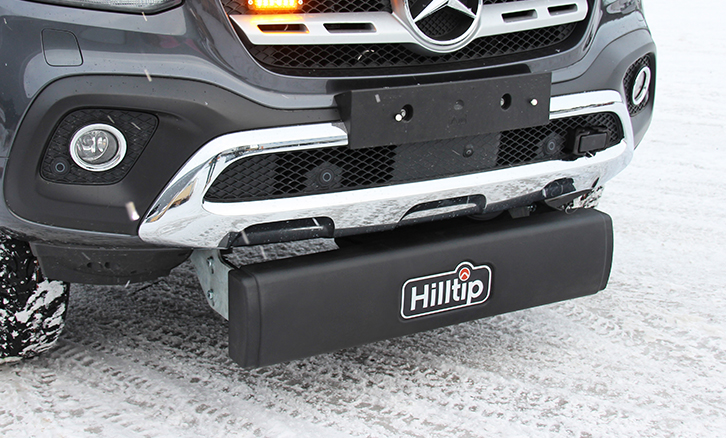
2. Follow the normal procedure for dismounting the unit from the vehicle. Treat the connector on the vehicle side with dielectric grease and mount the cover H25798 on the connector. Mount the pushbeam cover H25943 on the vehicle in order to protect the pushbeam during summer season.
3. Disconnect all electrical plugs and treat all connector with dielectric grease. Lights, valves, pump, etc.
4. Touch-up eventual rust spots or chipped paint. Contact your HILLTIP dealer if you are in need of repair spray bottle paint.
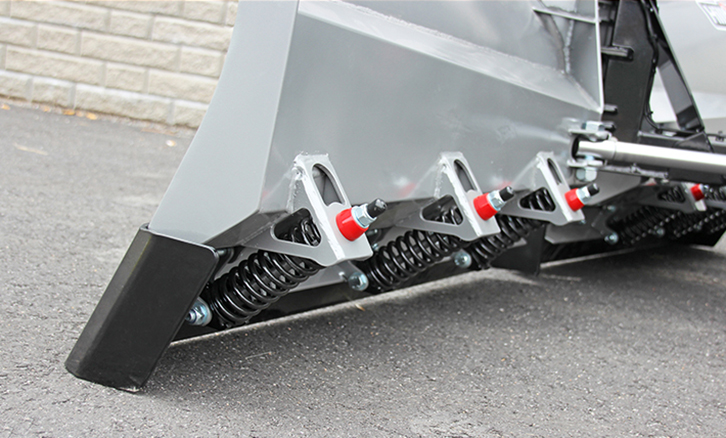
5. Treat the Spring assemblies and the Trip edge mechanism with grease. Check the rubber dampeners for any damage and contact your HILLTIP dealer to get replacement parts.
6. Insert a good amount of grease into all nipples. You will find nipples on the center-pin, tilt-frame and lift-cylinder.
These simple steps will help ensure your equipment is kept in good condition for next season when the snow arrives and it’s time once again to keep our commuities safe on the roads. If you are also putting your Spreader away, be sure to check out the blog Prepare your Spreader for Storage.
Wish you the best!

